Lacing a baseball glove is essential for keeping it in top shape. Proper lacing ensures durability and performance.
Baseball gloves face a lot of wear and tear. With time, the laces can break or loosen. Knowing how to lace a glove properly can save you money and extend the glove’s life. It also ensures you have a reliable glove when you need it most.
In this guide, we’ll explore the steps to lace a baseball glove effectively. Whether you are a player or a parent, learning this skill is valuable. It keeps your glove game-ready and comfortable. Let’s dive into the process and help you maintain your glove like a pro.
Choosing The Right Laces
Choosing the right laces for your baseball glove is important. The laces hold the glove together. They affect the glove’s performance. Good laces can make your glove last longer. They also help you play better. Here are some tips to help you choose the best laces.
Types Of Laces
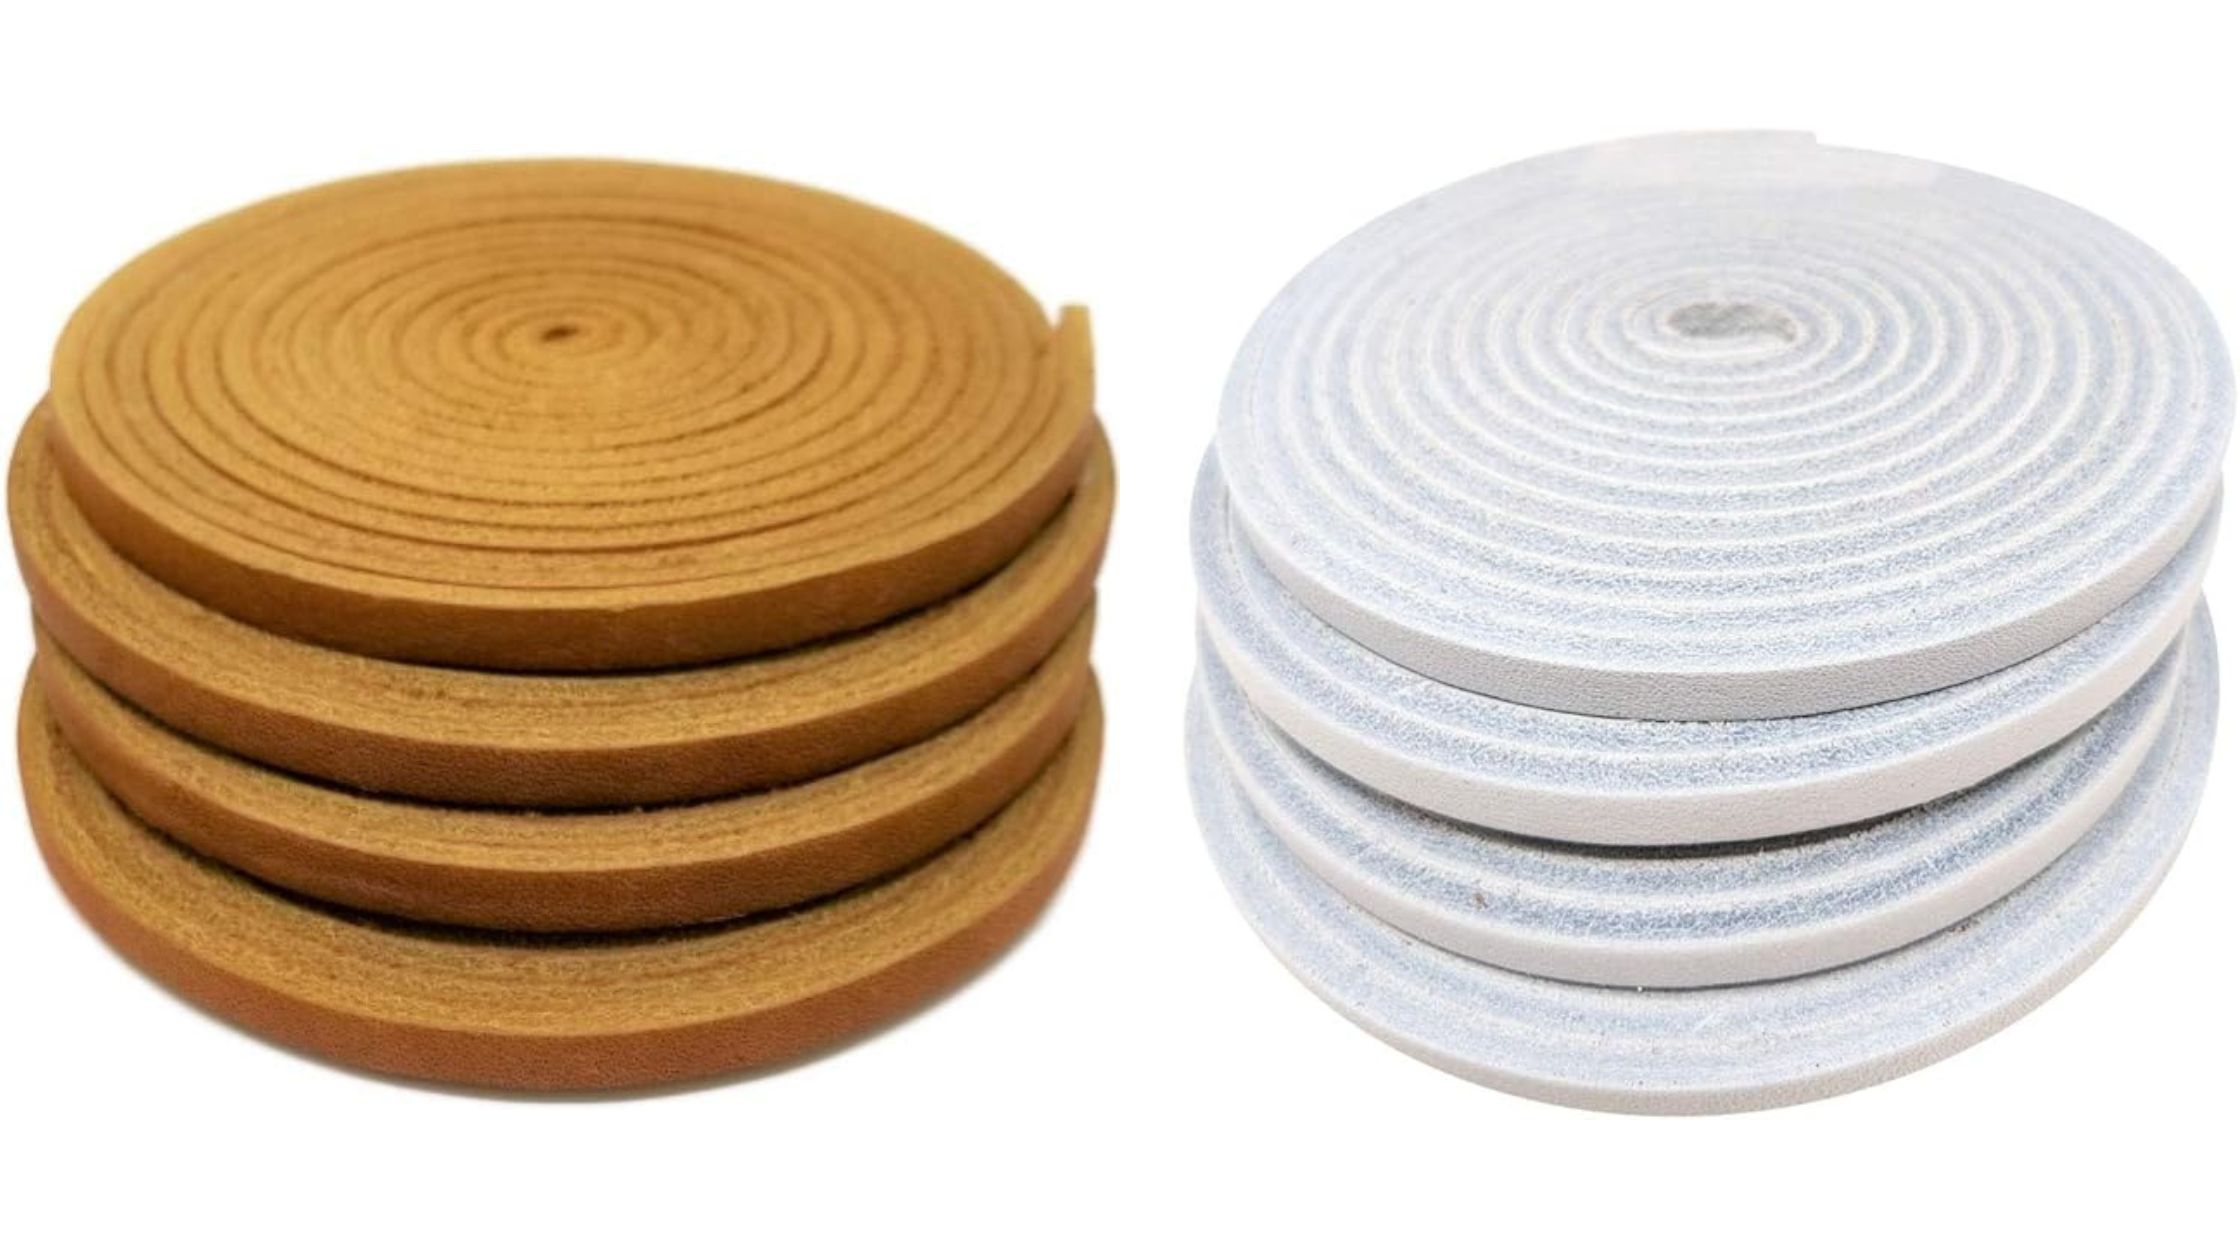
There are different types of laces for baseball gloves. The most common types are flat and rolled laces. Flat laces are wider. They provide more surface area. This makes them stronger. Rolled laces are round. They are more flexible. They can be easier to thread through the glove. Each type has its own benefits.

Materials And Durability
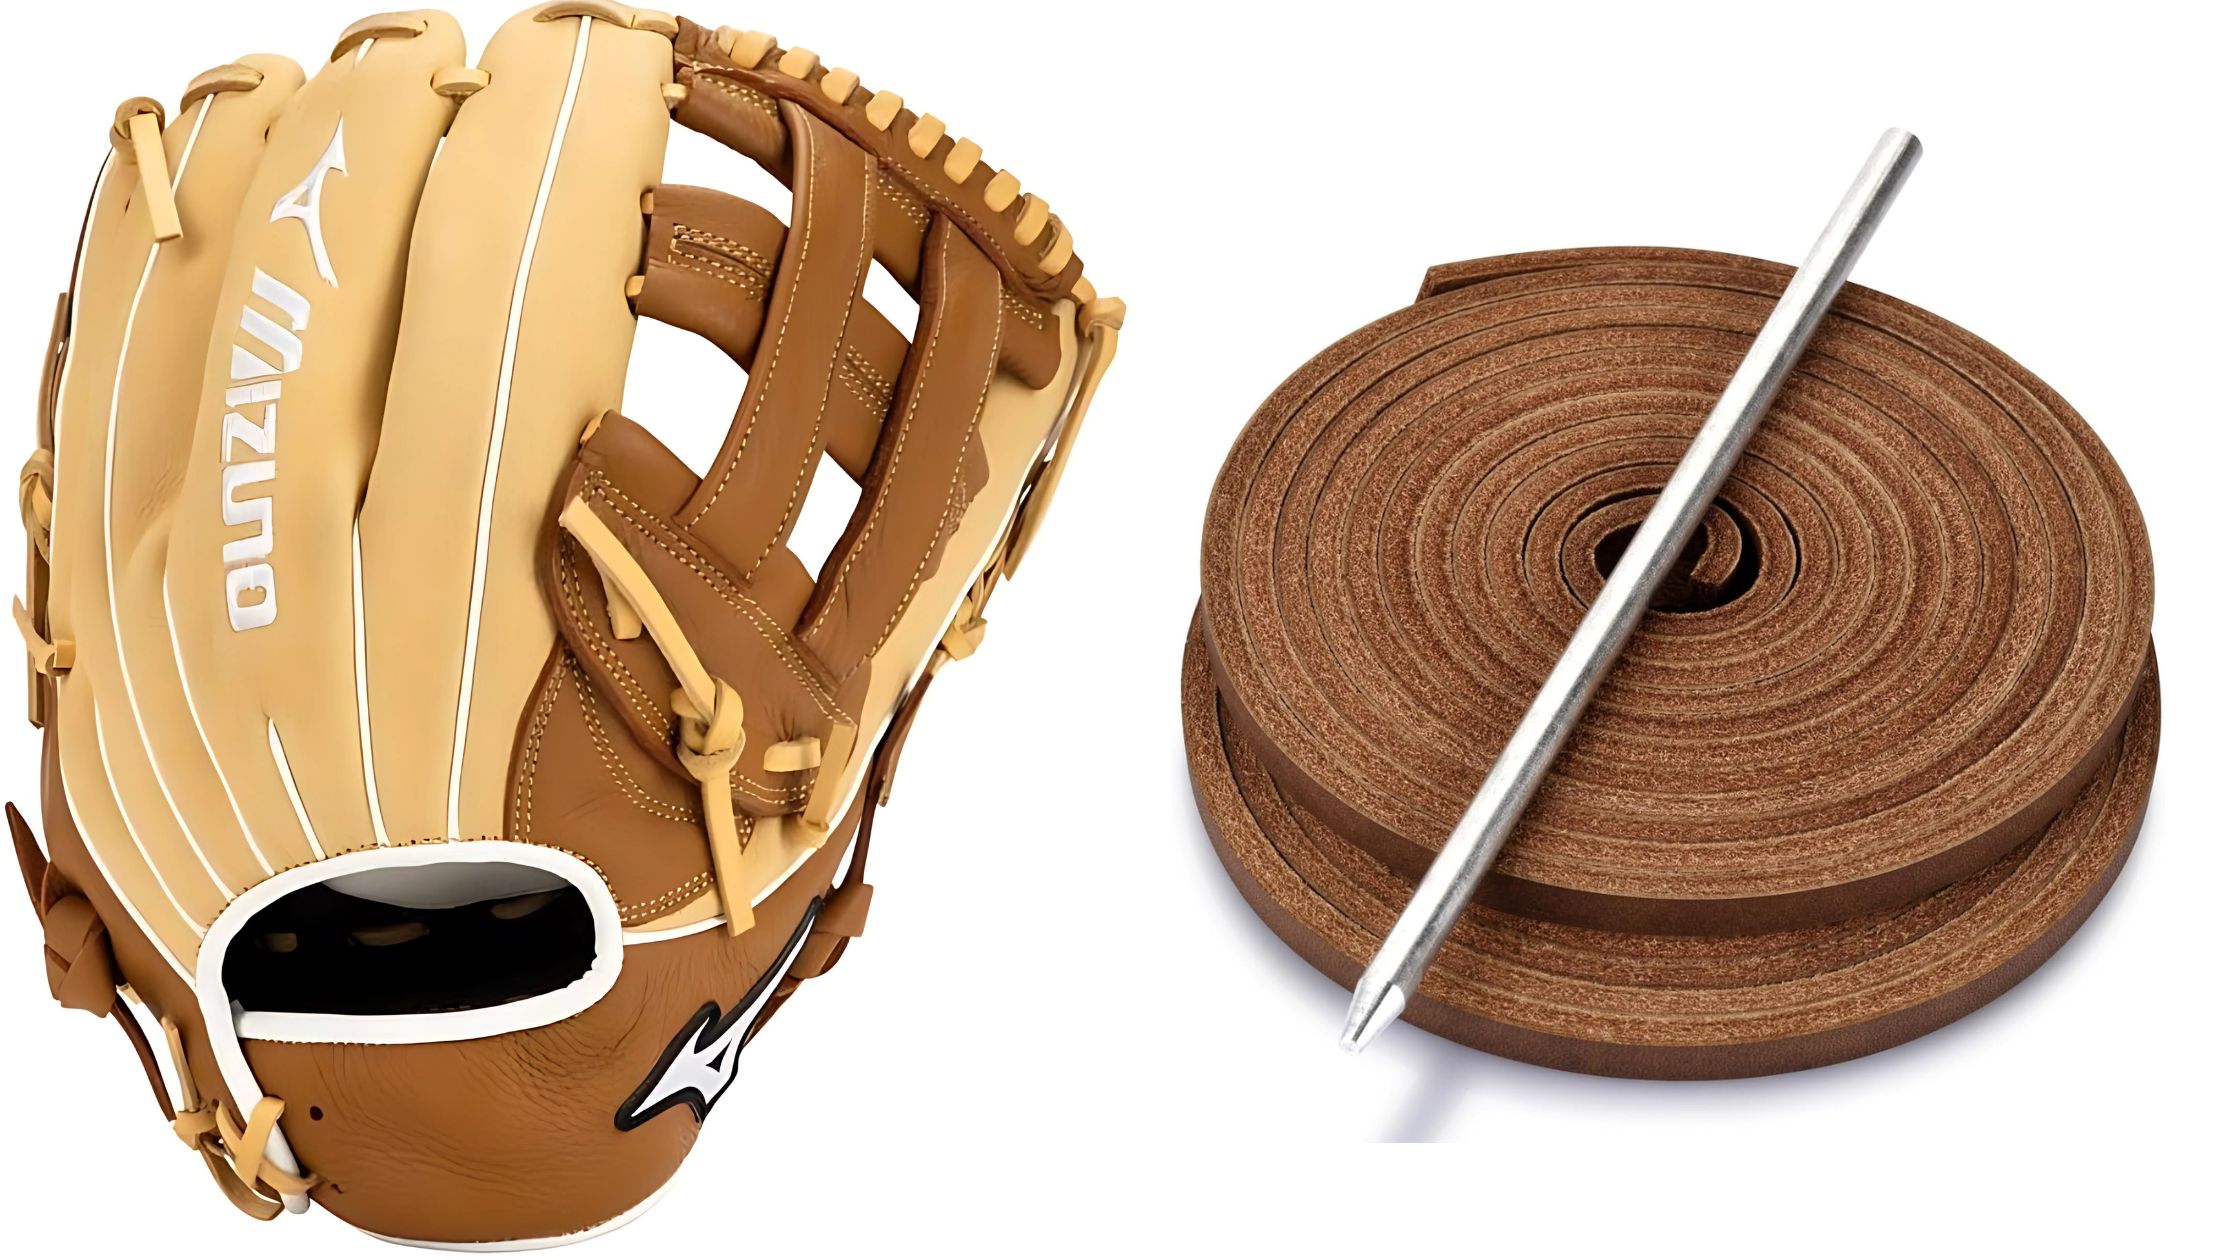
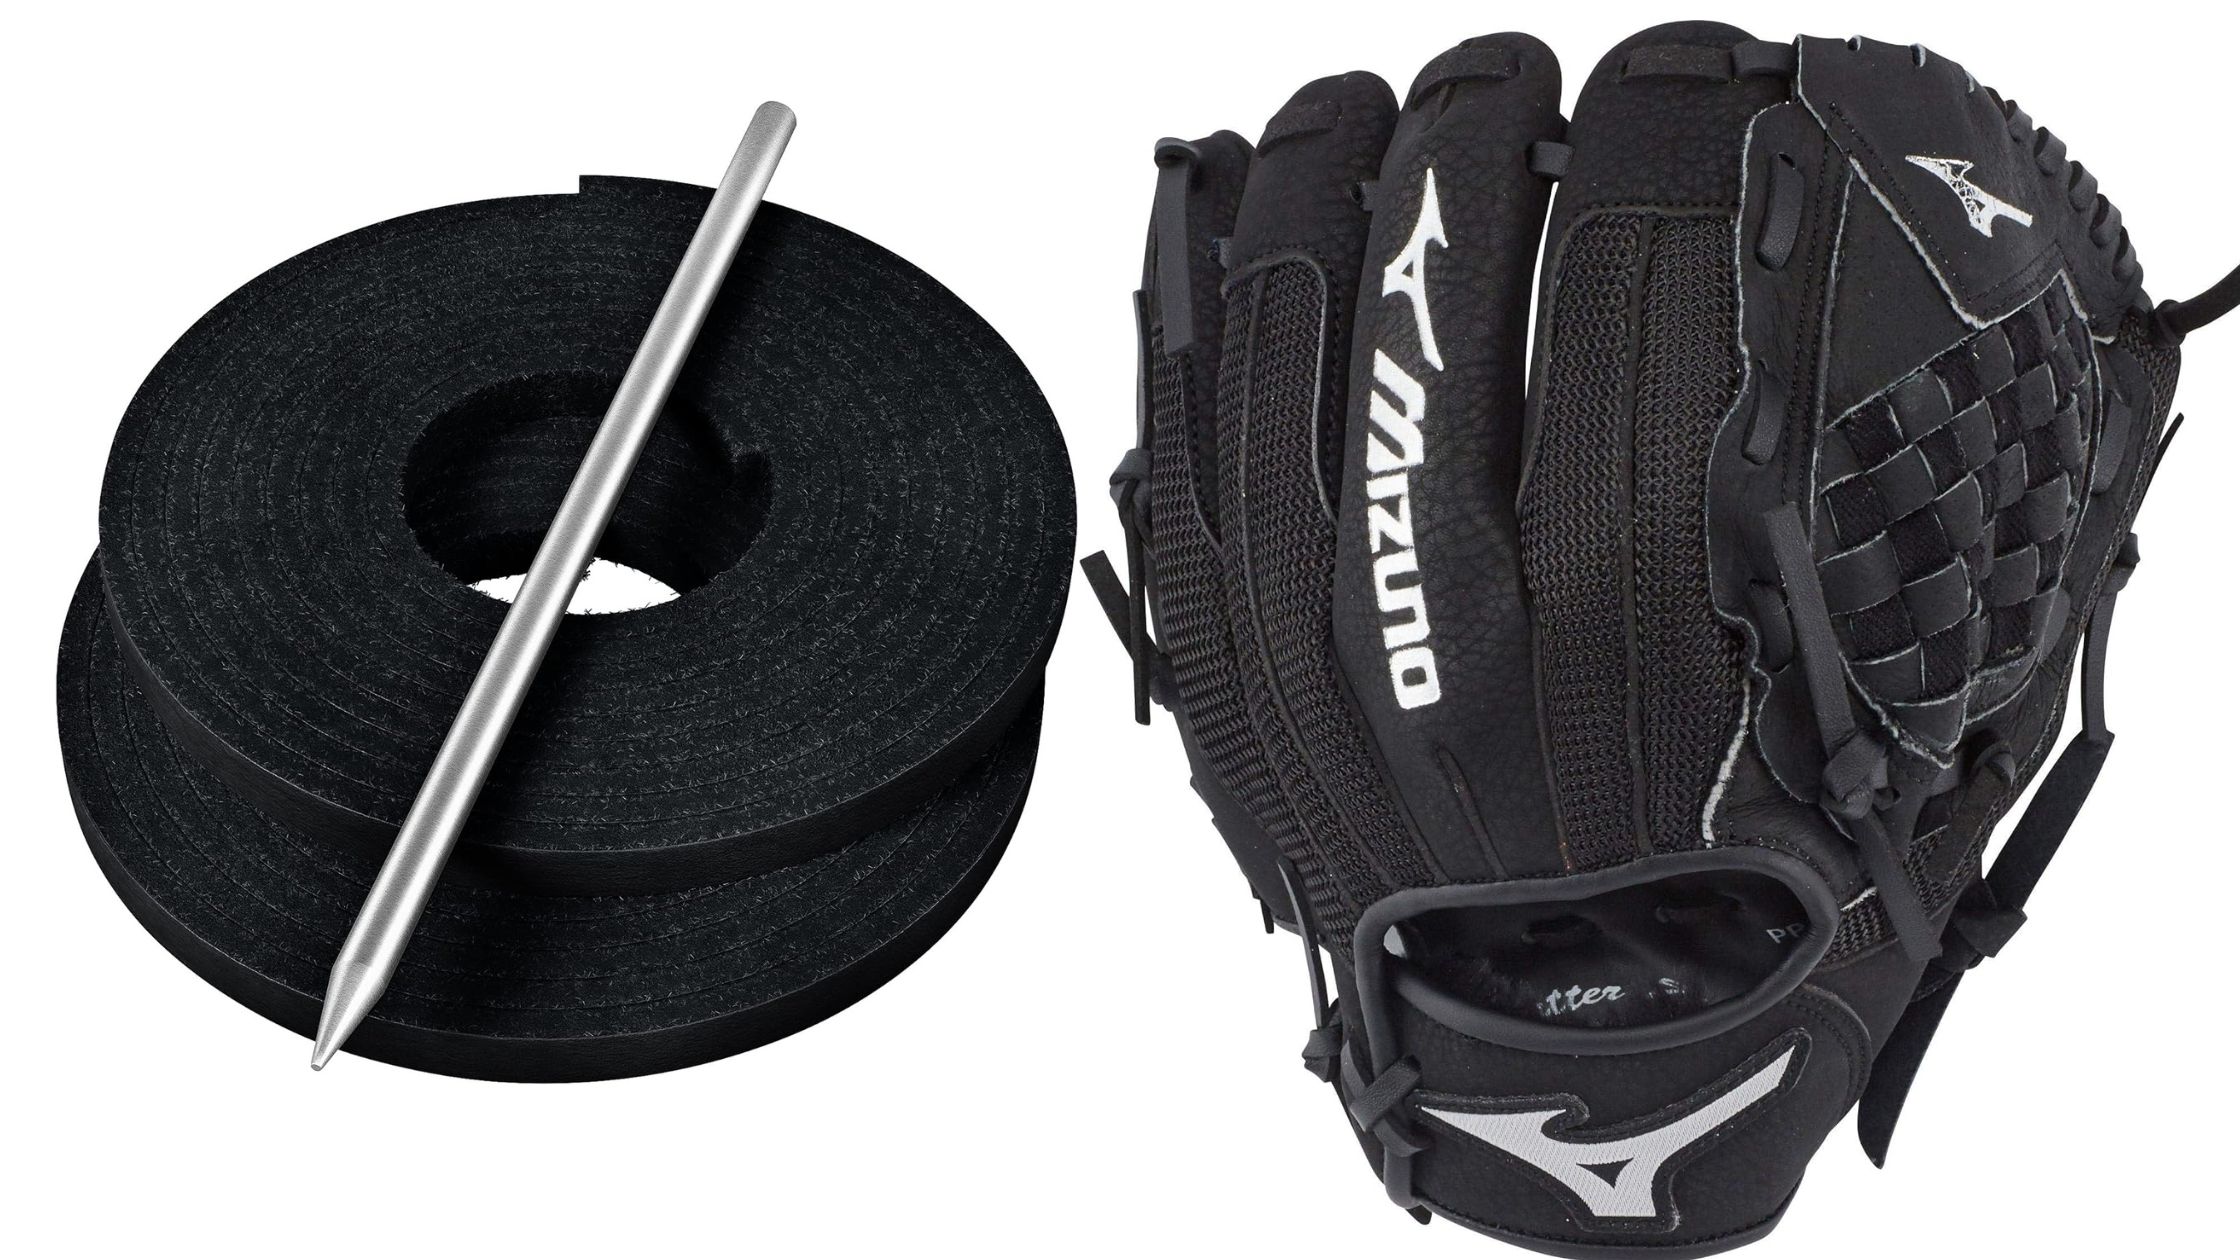
Laces come in different materials. Leather is the most popular choice. It is strong and durable. Leather laces can handle wear and tear. Synthetic laces are another option. They are less expensive. They are also easier to replace. But they may not last as long. Choose the material that fits your needs.
Durability is key for laces. Good laces should last for many games. Check the quality before you buy. Strong, durable laces will keep your glove in top shape. They will help you perform your best on the field.
Preparing Your Glove
Before you start lacing your baseball glove, preparation is key. A clean and well-maintained glove helps the lacing process. Follow these steps to get your glove ready.
Cleaning The Glove
First, remove any dirt and debris from your glove. Use a soft cloth or brush for this task. A clean glove is easier to handle and re-lace.
Next, apply a small amount of glove cleaner to the cloth. Gently rub the cleaner into the leather. This helps to condition the glove and remove any stubborn dirt.

After cleaning, let the glove air dry. Do not place it near heat sources. Heat can damage the leather and ruin your glove.
| Cleaning Steps | Details |
|---|---|
| Remove Dirt | Use a soft cloth or brush |
| Apply Cleaner | Use glove cleaner and rub gently |
| Air Dry | Let the glove dry away from heat |
Removing Old Laces
Old laces can be tough to remove. Start by cutting the laces with scissors. Be careful not to cut the leather of your glove.
After cutting, pull out the old laces. You may need pliers for stubborn parts. Removing old laces gives a fresh start for new laces.
Inspect the glove for any damage. Repair any tears or holes before re-lacing. A well-prepared glove lasts longer and performs better.
- Cut the old laces with scissors
- Pull out the old laces
- Inspect and repair the glove
Lacing Techniques
Lacing a baseball glove is an important skill. It ensures your glove stays in top shape. This guide covers two main lacing techniques. We will start with the basic lacing method and move to alternative lacing styles.
Basic Lacing Method
The basic lacing method is simple. It keeps your glove functional and comfortable. Follow these steps:
- Remove the old laces. Use a pair of scissors or a knife.
- Start at the wrist area. Insert the new lace through the first hole.
- Pull the lace tight. Make sure it stays flat.
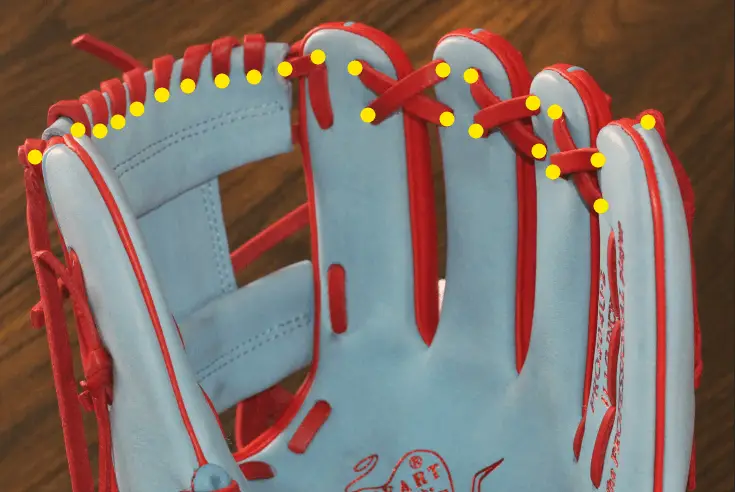
- Continue lacing through each hole. Follow the glove’s original pattern.
- Tie a knot at the end. Cut off any extra lace.
Here’s a quick tip: Keep the laces snug but not too tight. This keeps your glove flexible.
Alternative Lacing Styles
Want a different feel or look for your glove? Try these alternative lacing styles:
- Cross Lacing: This method adds more support. It involves crossing the laces over each other.
- Double X Lacing: This style is more secure. It uses two laces and forms an “X” pattern.
- Single Loop Lacing: This is a simpler style. It uses a single loop through each hole.
Each style has its benefits. Choose the one that best fits your needs.

Step-by-step Lacing Guide
Properly lacing a baseball glove ensures it performs well and lasts longer. Follow this step-by-step guide to give your glove the care it deserves. You’ll learn how to start the lacing process and secure the laces effectively.
Starting The Lacing Process
First, gather your lacing tools. You will need a lacing needle, new laces, and your glove. Start by removing the old laces. Use scissors or a knife to cut them if needed. Begin at the thumb or pinky finger. Thread the new lace through the lacing needle. Insert the needle into the first hole. Pull the lace through until a small tail remains.
Securing The Laces
Now, it’s time to secure the laces. Start by weaving the lace through the holes, following the original pattern. Tighten each loop as you go. Make sure the laces are snug but not too tight. Once you reach the end of the lace, tie a secure knot. Trim any excess lace with scissors. Repeat the process for each section of the glove.
Adjusting The Fit
Ensure your baseball glove fits perfectly by adjusting the laces. Tighten or loosen them for a snug feel. Proper lacing enhances comfort and performance on the field.
Adjusting the fit of your baseball glove ensures comfort and performance. A snug glove helps you catch and control the ball better. Follow these steps to adjust your glove for the perfect fit.
Tightening The Laces
Start by tightening the laces around the glove’s fingers. Pull each lace tight, starting from the bottom. Work your way up to the top. This keeps the glove secure on your hand. Use a lace tool or a screwdriver for better grip. Next, focus on the webbing. Tighten the laces that connect the webbing to the fingers. This ensures the webbing stays firm and doesn’t sag. A firm webbing improves your catching ability. Finally, check the laces around the wrist. Adjust them to fit snugly around your wrist. A snug wrist strap prevents the glove from slipping during play.
Testing The Glove
After tightening the laces, test the glove’s fit. Put your hand inside the glove. Make sure it feels snug but comfortable. Wiggle your fingers to ensure they move freely. Catch a few balls to see how the glove performs. Pay attention to how the glove closes around the ball. Adjust the laces again if needed. A well-adjusted glove should feel like an extension of your hand. Regularly check the laces for wear and tear. Replace any damaged laces to maintain a good fit. Properly adjusted laces can make a big difference in your game. “`
Maintaining Your Laces
Maintaining your baseball glove’s laces is crucial for its longevity. Proper care ensures your glove stays in top shape for many seasons. Regular inspections and timely replacements of worn laces are essential steps.
Regular Inspections
Regular inspections help you spot any issues with your glove’s laces early. Check the laces before and after each game. Look for fraying, breaks, or stretches. A quick visual inspection can save you from bigger problems later.
Use your fingers to feel the laces. Gently pull them to check for any weak spots. Pay special attention to the areas where the laces cross or tie. These spots tend to wear out faster.
Replacing Worn Laces
Replacing worn laces is necessary to keep your glove effective. Worn laces can affect the glove’s performance and your game. If you notice any damage, it’s time to replace them.
Here’s a simple guide to replace the laces:
- Remove the old laces carefully.
- Measure the new laces to the same length as the old ones.
- Start lacing from the bottom hole and work your way up.
- Ensure the laces are tight but not too tight.
- Tie a secure knot at the end to keep the laces in place.
Keep a spare set of laces in your bag. This way, you can replace them anytime you notice damage.
| Inspection Frequency | Action Required |
|---|---|
| Before each game | Quick visual check |
| After each game | Detailed inspection and feel test |
| Monthly | Thorough inspection and replace if needed |
Regular maintenance of your glove’s laces ensures you always play your best. It also extends the life of your glove. Stay proactive and keep your glove in top condition.
Common Mistakes To Avoid
Lacing a baseball glove can be tricky. Many people make mistakes that affect the glove’s performance. Knowing these mistakes can help you avoid them and keep your glove in top condition.

Overtightening Laces
One common mistake is overtightening the laces. This can make the glove too stiff. A stiff glove is hard to use and can reduce performance. To avoid this, keep the laces snug but not too tight. The glove should feel flexible yet secure.
If you overtighten, you might also damage the leather. Leather needs some slack to move and flex. Tight laces can cause cracks and tears over time. Always check the glove’s feel after lacing. Make sure it can open and close easily.
Incorrect Lacing Patterns
Using the wrong lacing pattern is another mistake. Each glove model may have a unique lacing pattern. Following the correct pattern is crucial. It affects the glove’s shape and function. Incorrect patterns can lead to uneven tension and poor fit.
Check the manufacturer’s guide for the correct pattern. If you can’t find it, look for tutorials online. Many resources show step-by-step lacing for different glove types. Double-check your work to ensure accuracy.
| Common Mistake | Effect |
|---|---|
| Overtightening Laces | Stiff glove, damaged leather |
| Incorrect Lacing Patterns | Uneven tension, poor fit |
By avoiding these mistakes, you can ensure your glove remains comfortable and effective. Proper lacing helps maintain the glove’s shape and longevity.
Expert Tips And Tricks
Lacing a baseball glove might seem simple, but it requires skill and patience. A well-laced glove enhances your performance on the field. Let’s dive into some expert tips and tricks to help you get the most out of your glove.
Professional Insights
Professional players often customize their gloves to fit their personal preferences. They ensure the glove is comfortable and functional. Here are some insights from the pros:
- Choose quality laces: Use strong, durable leather laces for longevity.
- Follow a pattern: Maintain a consistent lacing pattern to avoid uneven tension.
- Check and adjust: Regularly inspect your laces and adjust them as needed.
Enhancing Glove Performance
A properly laced glove not only fits better but also performs better. Here’s how you can enhance your glove’s performance:
- Break it in: Use your glove often to make it flexible.
- Keep it clean: Remove dirt and debris to maintain its condition.
- Store it properly: Keep your glove in a cool, dry place to prevent damage.
Using these tips and tricks, you can ensure your glove is always game-ready. Whether you’re a beginner or a seasoned player, these insights will help you maintain your glove and improve your performance.
Frequently Asked Questions
How Do You Start Lacing A Baseball Glove?
To start lacing a baseball glove, first remove the old lace. Then, thread the new lace through the starting hole.
What Tools Do You Need To Lace A Glove?
You need a lace, a lacing needle, and sometimes, pliers to lace a baseball glove.
How Often Should You Relace A Baseball Glove?
You should relace your baseball glove every one to two years, depending on usage.
Can You Use Any Lace For A Baseball Glove?
No, use a high-quality leather lace specifically designed for baseball gloves for the best performance.
Conclusion
Mastering the lacing of a baseball glove ensures better performance. Regular maintenance keeps your glove in top condition. Practice these steps to make your glove feel just right. A well-laced glove improves your game significantly. Always check for loose laces and tighten them promptly.
Enjoy playing with a perfectly fitted glove. Now, you’re ready to hit the field with confidence. Keep your glove well-maintained and it will serve you well. Happy playing!


