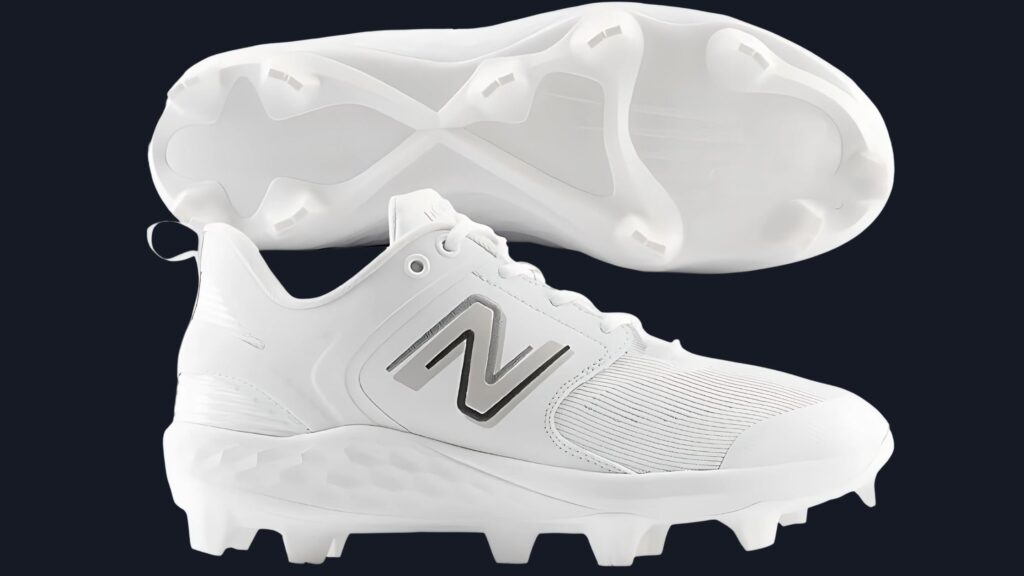
To break in new baseball cleats, wear them around the house for short periods. Gradually increase wear time to avoid blisters.
New baseball cleats can be uncomfortable if not properly broken in. Breaking in cleats ensures they mold to your feet, providing better comfort and performance. Start by wearing them indoors for short periods. This helps to soften the material and adjust to your foot shape.
Gradually increase wear time and use them in practice sessions before playing a game. Using shoe stretchers or applying leather conditioner can also help in the process. Properly broken-in cleats enhance grip, reduce the risk of blisters, and improve overall performance on the field. Patience and gradual wear are key to achieving the perfect fit.
Choosing The Right Cleats
Choosing the right baseball cleats is crucial for performance and comfort. The right cleats help you run faster and prevent injuries. This section will guide you on selecting the perfect pair of cleats.
Material Matters
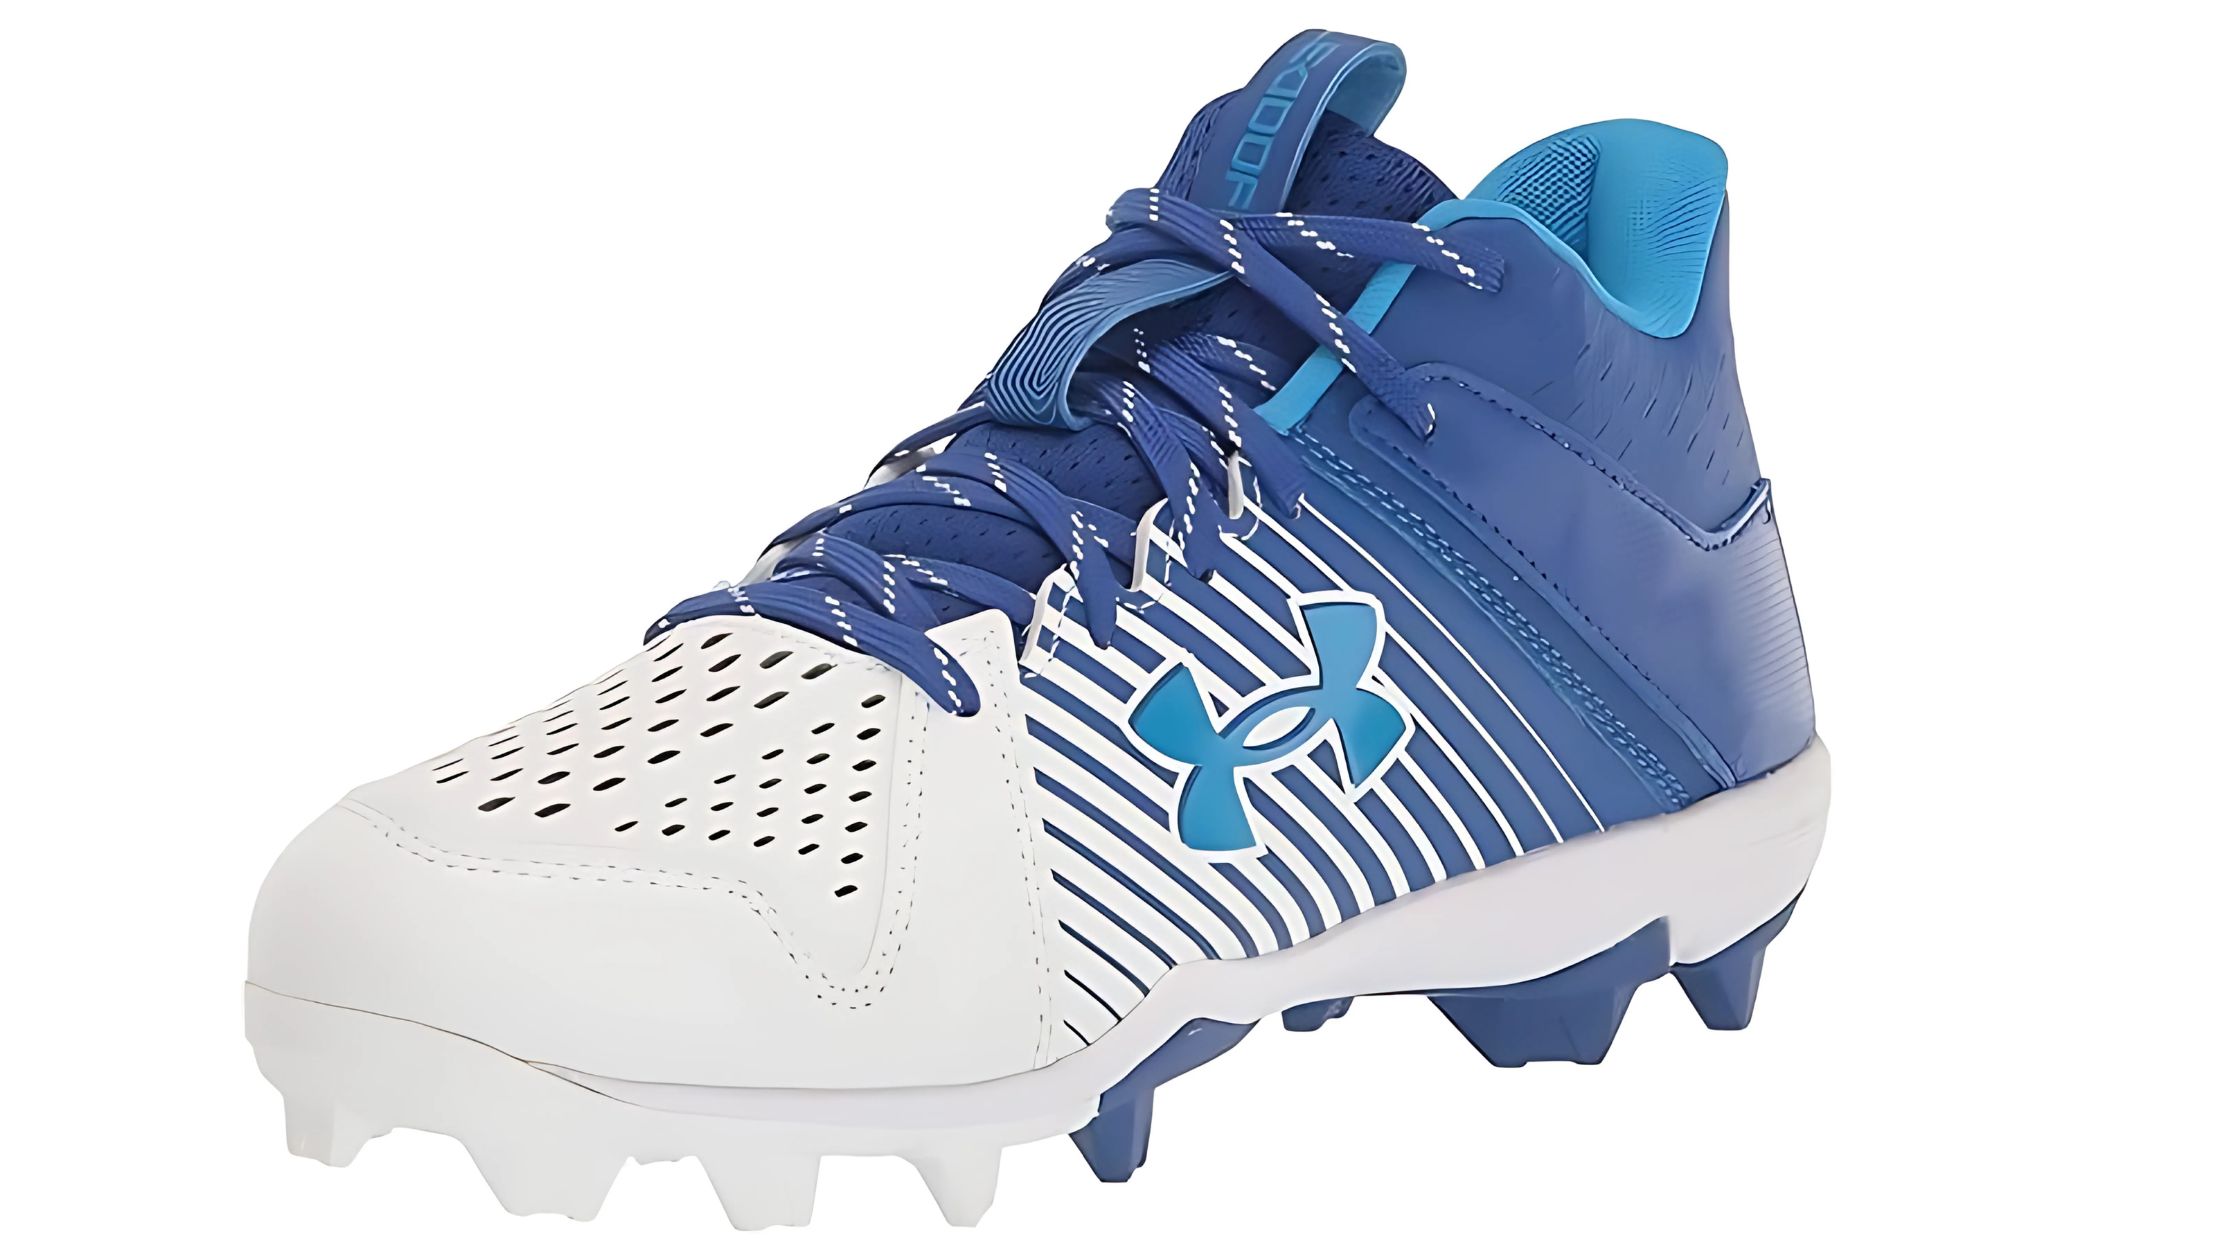
The material of your cleats affects their durability and comfort. Most cleats are made from either leather or synthetic materials. Leather cleats are more breathable and mold to your feet over time. They are also more durable and last longer. Synthetic cleats are lighter and often cheaper. They are also easier to clean and maintain.
| Material | Pros | Cons |
|---|---|---|
| Leather | Durable, Breathable, Molds to feet | Expensive, Heavier |
| Synthetic | Lightweight, Affordable, Easy to clean | Less durable, Less breathable |
Size And Fit
The size and fit of your cleats are very important. Ill-fitting cleats can cause blisters and foot pain. Always measure your foot before buying cleats. Different brands may have different sizing, so check the size chart. Make sure the cleats fit snugly but not too tight. You should have a little room in the toe box. This prevents your toes from hitting the front of the cleats.
- Measure your foot length and width.
- Check the brand’s size chart.
- Ensure a snug but comfortable fit.
- Leave some room in the toe box.
Prepping Your Cleats
Breaking in new baseball cleats is crucial. Properly prepping your cleats ensures comfort and performance. Follow these steps to get your cleats game-ready.
Softening Leather Cleats
Leather cleats need softening before use. Start by applying a leather conditioner. This helps soften the material. Rub the conditioner evenly over the entire cleat. Let it sit for 24 hours.
After conditioning, wear the cleats around the house. This helps mold the leather to your feet. Wear thick socks to avoid blisters. Walk on different surfaces for best results.
You can also use a baseball to stretch tight areas. Insert the ball into the toe box. Leave it overnight to help stretch the leather.
Preparing Synthetic Cleats
Synthetic cleats require less preparation. Start by wearing them around the house. This helps loosen the material. Wear thick socks to prevent discomfort.
Fill two plastic bags with water. Place the bags inside the cleats. Put the cleats in the freezer overnight. The water will expand, stretching the synthetic material.
Use a hairdryer to heat tight areas. This makes the material more flexible. Wear the cleats while heating them. This helps the cleats mold to your feet.
Properly prepping your cleats ensures comfort and prevents injuries. Follow these steps to break in your cleats effectively.
Wearing Them Around The House
Breaking in new baseball cleats can be tough. One effective way is wearing them around the house. This method helps make the cleats more comfortable without causing blisters.
Short Sessions
Begin with short sessions. Wear your new cleats for 10-15 minutes. This helps your feet get used to them.
Sit, walk, or perform simple tasks. Avoid running or jumping initially. These small movements help the cleats mold to your feet.
Gradual Increase
Next, gradually increase the wearing time. Add 5-10 minutes each day. This method ensures your feet adjust slowly.
Within a week, aim for wearing them for an hour. This gradual approach prevents discomfort and blisters.
| Day | Wearing Time |
|---|---|
| Day 1 | 10-15 minutes |
| Day 2 | 20-25 minutes |
| Day 3 | 30-35 minutes |
| Day 4 | 40-45 minutes |
| Day 5 | 50-55 minutes |
| Day 6 | 60 minutes |
Following this plan helps your cleats fit perfectly. Enjoy a comfortable and pain-free game.
Using Thick Socks
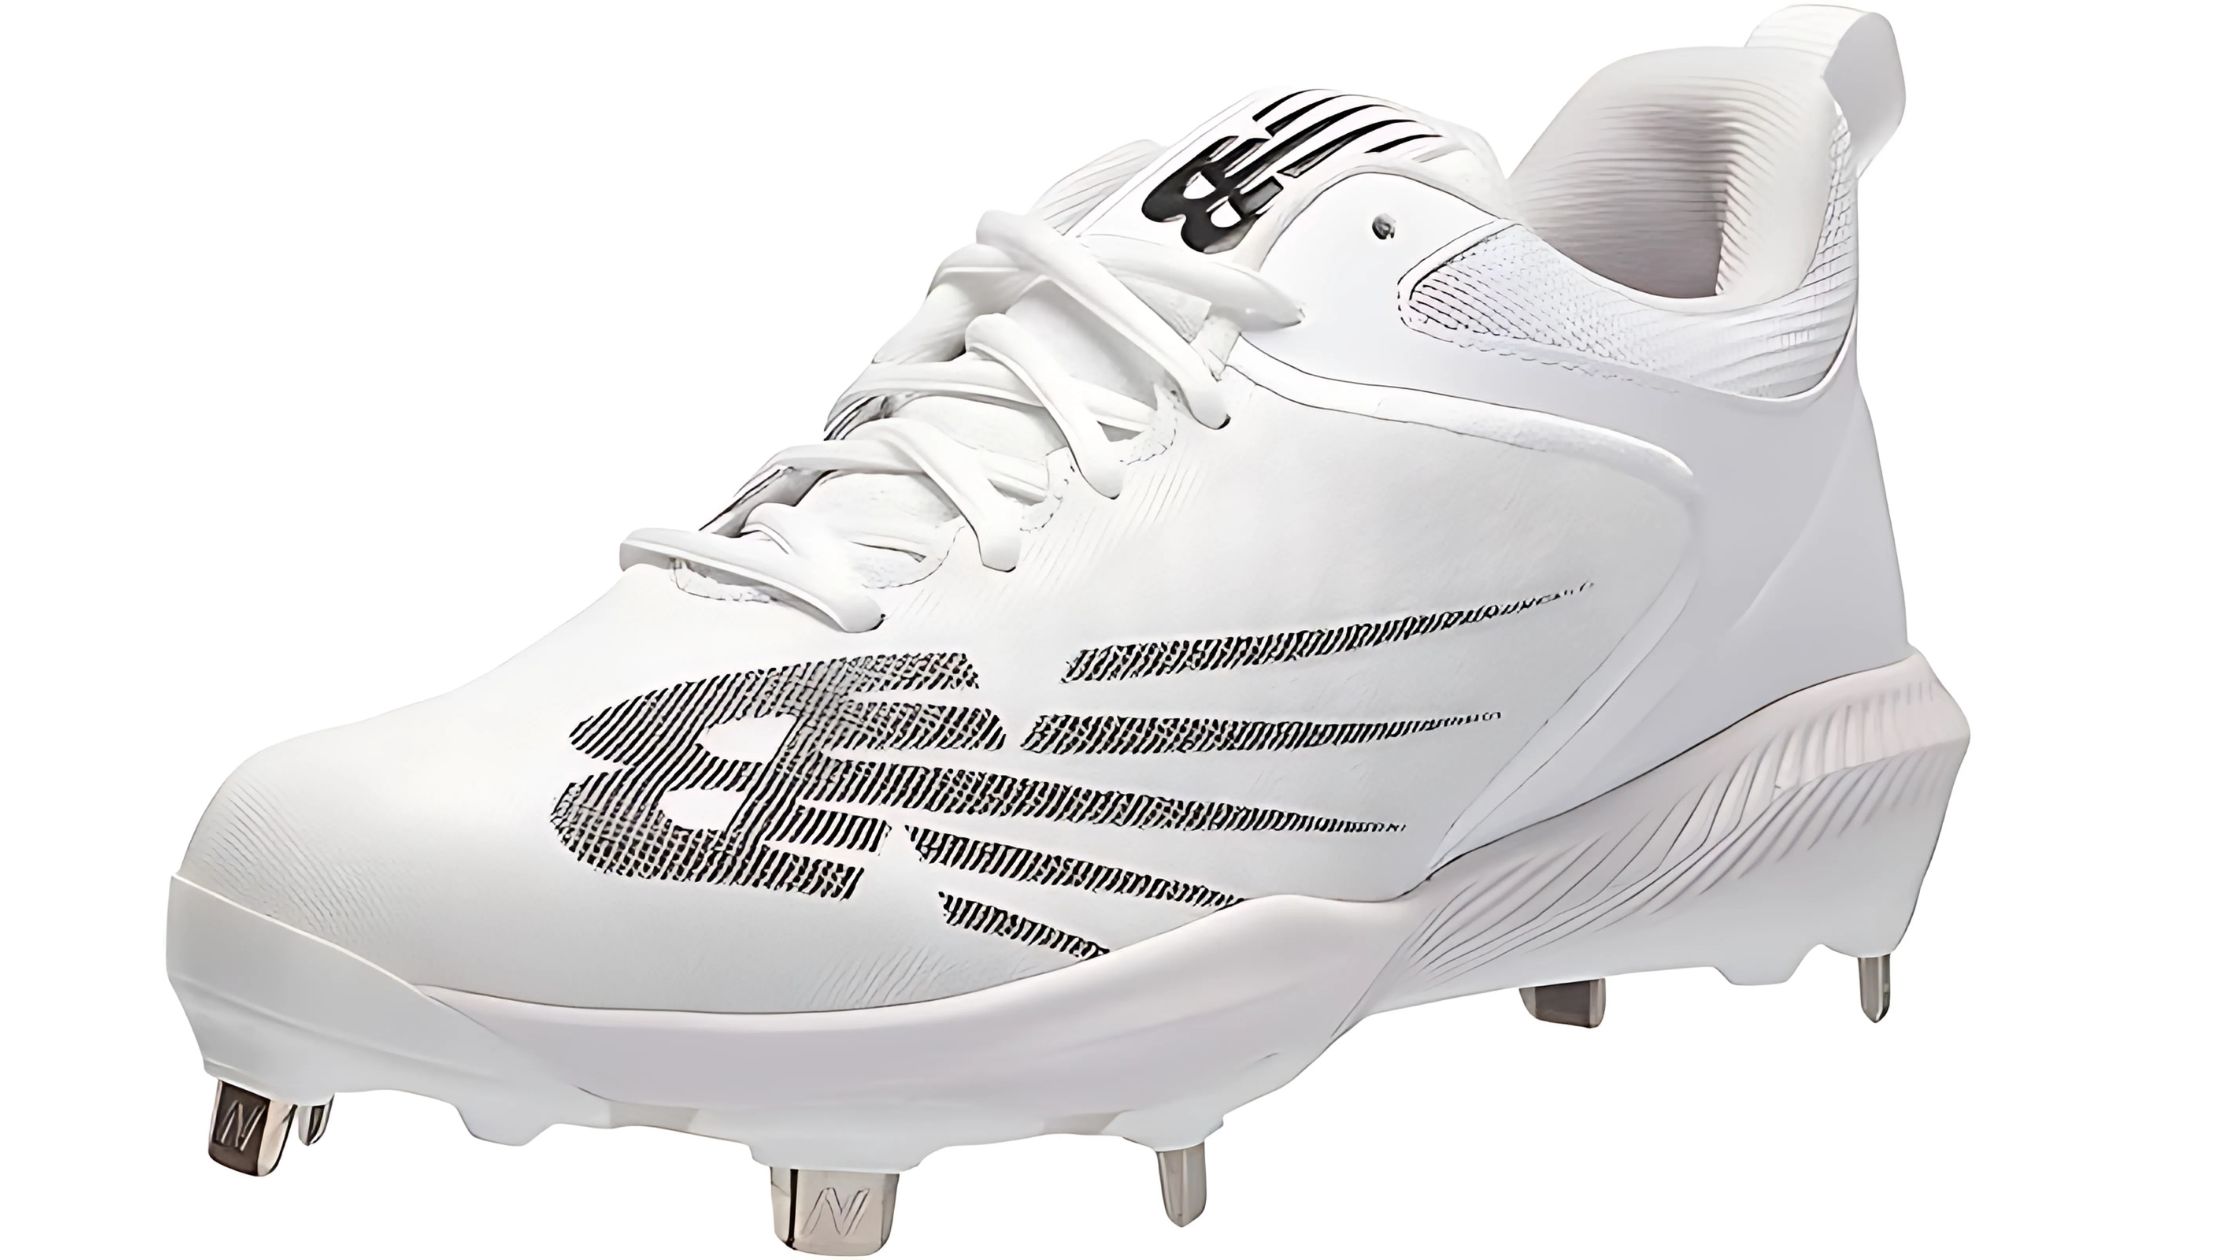
Breaking in new baseball cleats can be tough. Using thick socks is a simple method to ease the process. Thick socks offer many benefits that can make your new cleats feel more comfortable. Let’s explore how they help.
Extra Cushioning
Thick socks provide extra cushioning for your feet. This makes walking in new cleats less painful. The added padding reduces the pressure on your feet. It helps distribute weight evenly. This makes each step less harsh. You will feel more comfortable even in stiff new cleats.
Prevent Blisters
New cleats can cause blisters. Thick socks create a barrier between your feet and the shoes. This barrier reduces friction, which is the main cause of blisters. The socks absorb moisture too. Dry feet are less likely to get blisters. Wearing thick socks can help keep your feet safe.
Breaking Them In During Practice
Breaking in new baseball cleats can be a daunting task. The goal is to make them comfortable and perform well on the field. The best way to do this is during practice. Here, we’ll discuss two effective methods: Light Drills and Incremental Intensity.
Light Drills
Start with light drills to break in your cleats. This helps to prevent blisters and discomfort. Try these steps:
- Wear your cleats around the house for short periods.
- Walk on different surfaces like grass and dirt.
- Perform simple exercises, such as toe raises and ankle rolls.
These activities will help mold the cleats to your feet. They also help to soften the materials, making them more flexible.
Incremental Intensity
Gradually increase the intensity of your practice sessions. Follow these steps for better results:
- Begin with low-impact drills, such as light jogging and stretching.
- Move on to moderate drills, like short sprints and agility exercises.
- Finally, engage in full-intensity drills and scrimmages.
This method reduces the risk of injury and ensures a better fit. By the end, your cleats will feel like a natural extension of your feet.
Here is a simple table to summarize the steps:
| Step | Activity |
|---|---|
| 1 | Wear cleats around the house |
| 2 | Walk on grass and dirt |
| 3 | Perform toe raises and ankle rolls |
| 4 | Light jogging and stretching |
| 5 | Short sprints and agility exercises |
| 6 | Full-intensity drills and scrimmages |
By following these steps, your new baseball cleats will be game-ready in no time.
Treating Hot Spots
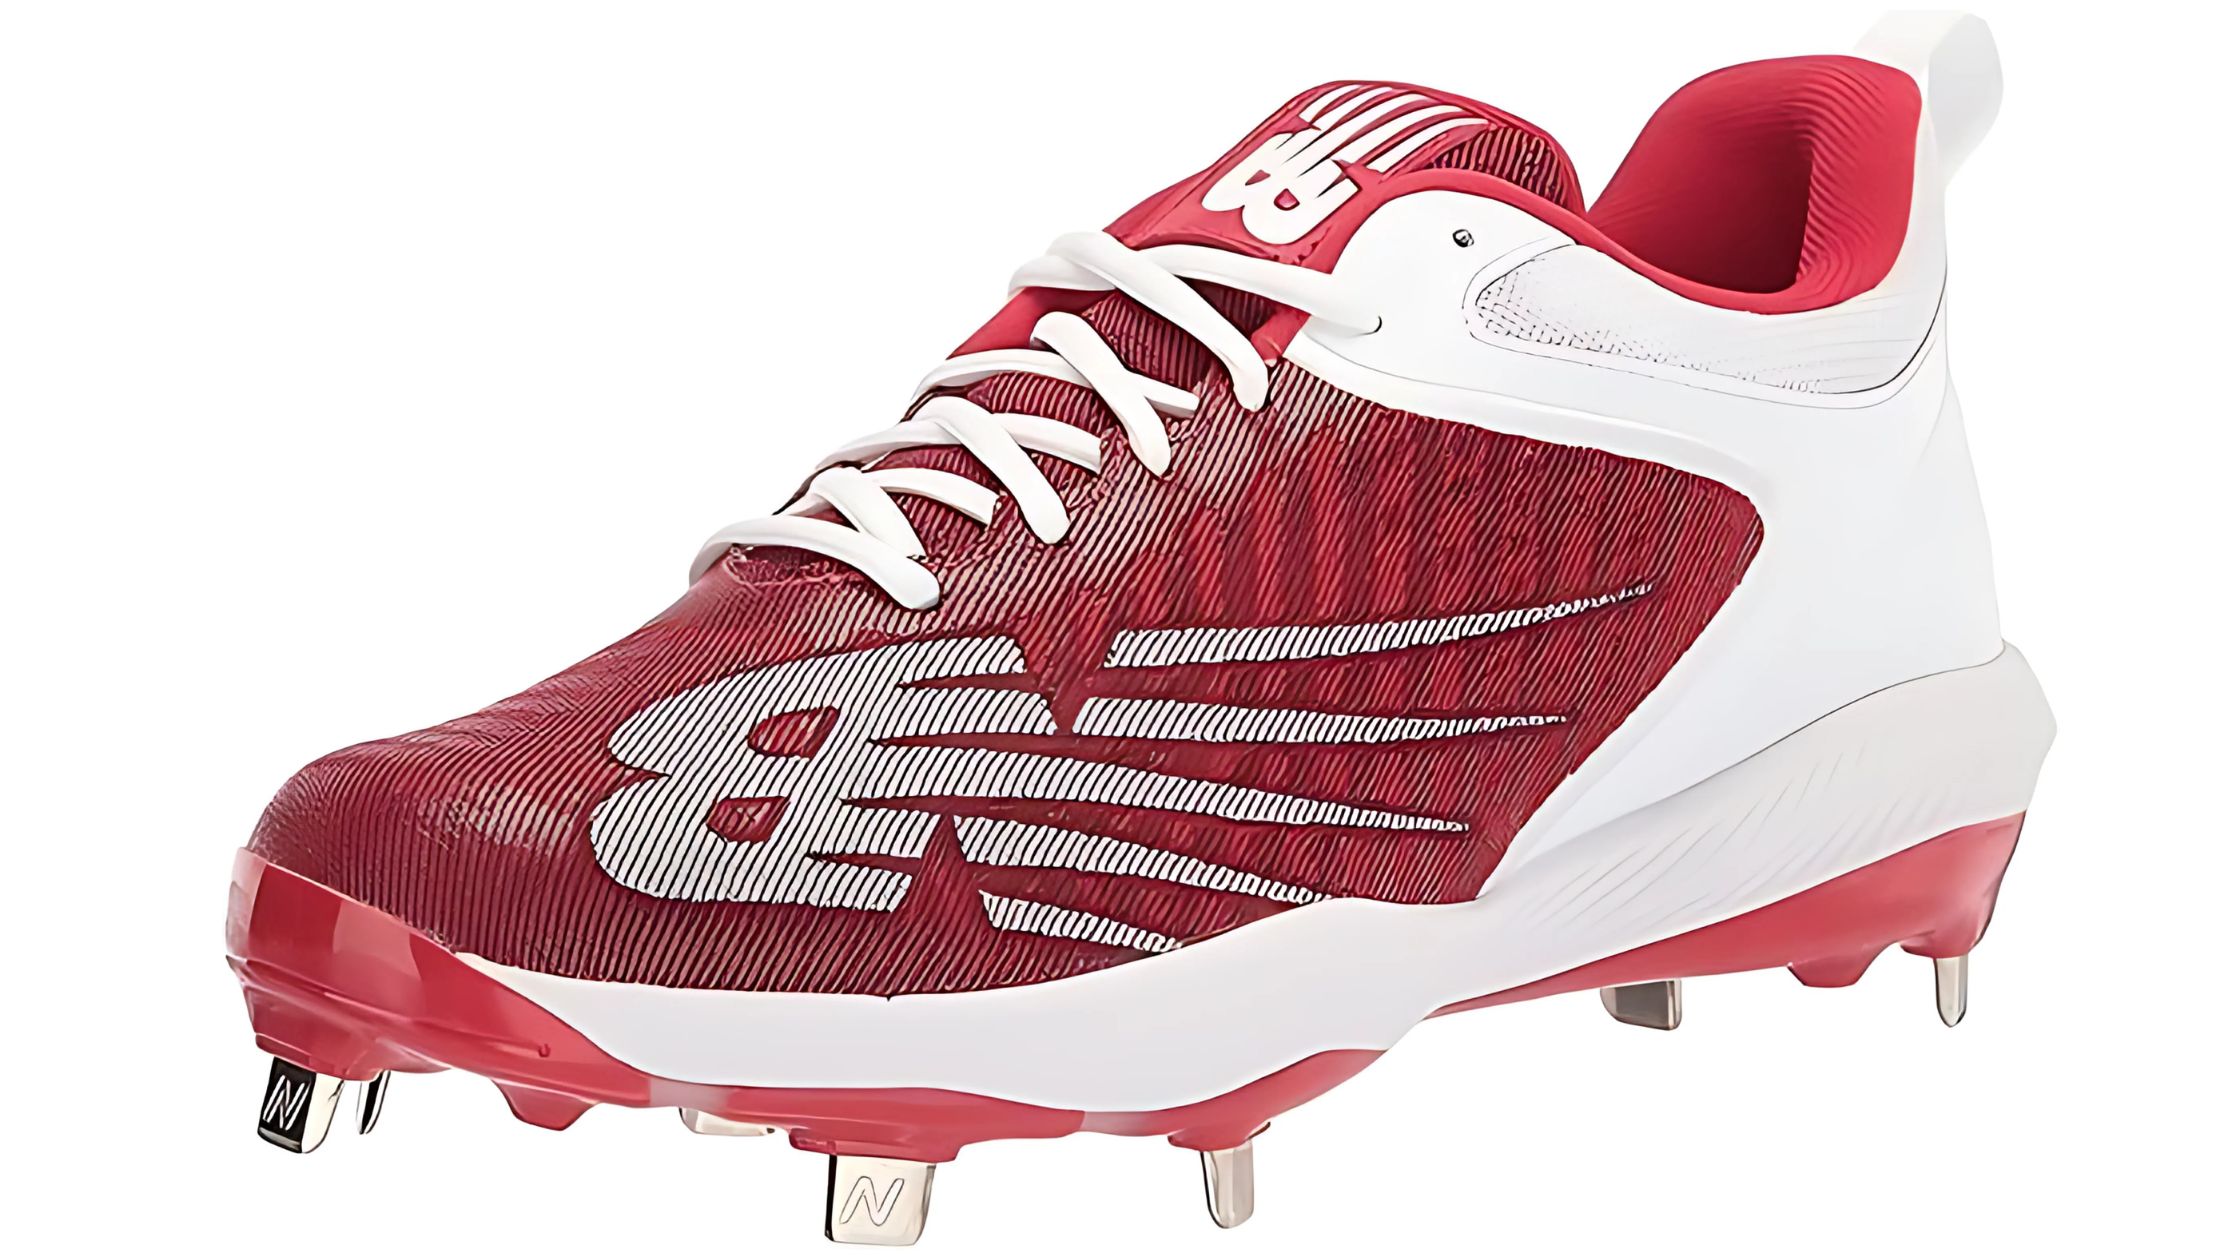
Breaking in new baseball cleats can be a challenge. Hot spots are the areas where your cleats cause discomfort or blisters. Treating these hot spots is essential for comfort and performance on the field.
Identifying Problem Areas
First, identify where your cleats rub your feet. These spots are usually on the heel, toes, or sides of your feet. Wear your cleats around the house or during light practice to find these areas.
Using Moleskin Or Padding
Once you’ve identified the hot spots, you can use moleskin or padding. Moleskin is a soft, adhesive fabric that reduces friction. Cut the moleskin into small pieces and place them on the problem areas.
Padding can also help. You can use gel pads or foam inserts. These provide extra cushioning and reduce pressure on your feet.
| Problem Area | Solution |
|---|---|
| Heel | Moleskin or gel pads |
| Toes | Foam inserts |
| Sides | Adhesive padding |
Make sure to check and adjust the moleskin or padding regularly. This ensures they remain effective and comfortable.
- Wear your cleats around the house.
- Identify the hot spots.
- Apply moleskin or padding to these areas.
- Check and adjust as needed.
Maintaining Your Cleats
Once you’ve broken in your new baseball cleats, maintaining them is crucial. Proper care extends their lifespan and keeps them in top condition. Follow these tips to ensure your cleats stay in great shape.
Regular Cleaning
Clean your cleats after every game. Use a soft brush to remove dirt and mud. For tough stains, mix mild soap with water. Dip a cloth in the soapy water and gently scrub the cleats. Rinse with clean water and wipe them dry.
For metal spikes, check for rust. Use a wire brush to remove any rust. Keeping spikes clean improves grip and performance.
Proper Storage
Store your cleats in a cool, dry place. Avoid leaving them in direct sunlight or near heat sources. Heat can warp the material and shorten their lifespan.
Use a shoe bag or box for storage. This protects your cleats from dust and damage. If your cleats are wet, let them dry naturally before storing. Stuffing them with newspaper helps absorb moisture and maintain their shape.
| Task | Frequency |
|---|---|
| Clean after each game | Every game |
| Check for rust | Weekly |
| Store properly | Always |
Follow these steps to keep your baseball cleats in prime condition. Proper maintenance ensures better performance and longer-lasting gear.
When To Replace Your Cleats
Knowing when to replace your cleats is crucial. Worn-out cleats can affect performance and safety. This guide helps you identify the right time for new cleats.
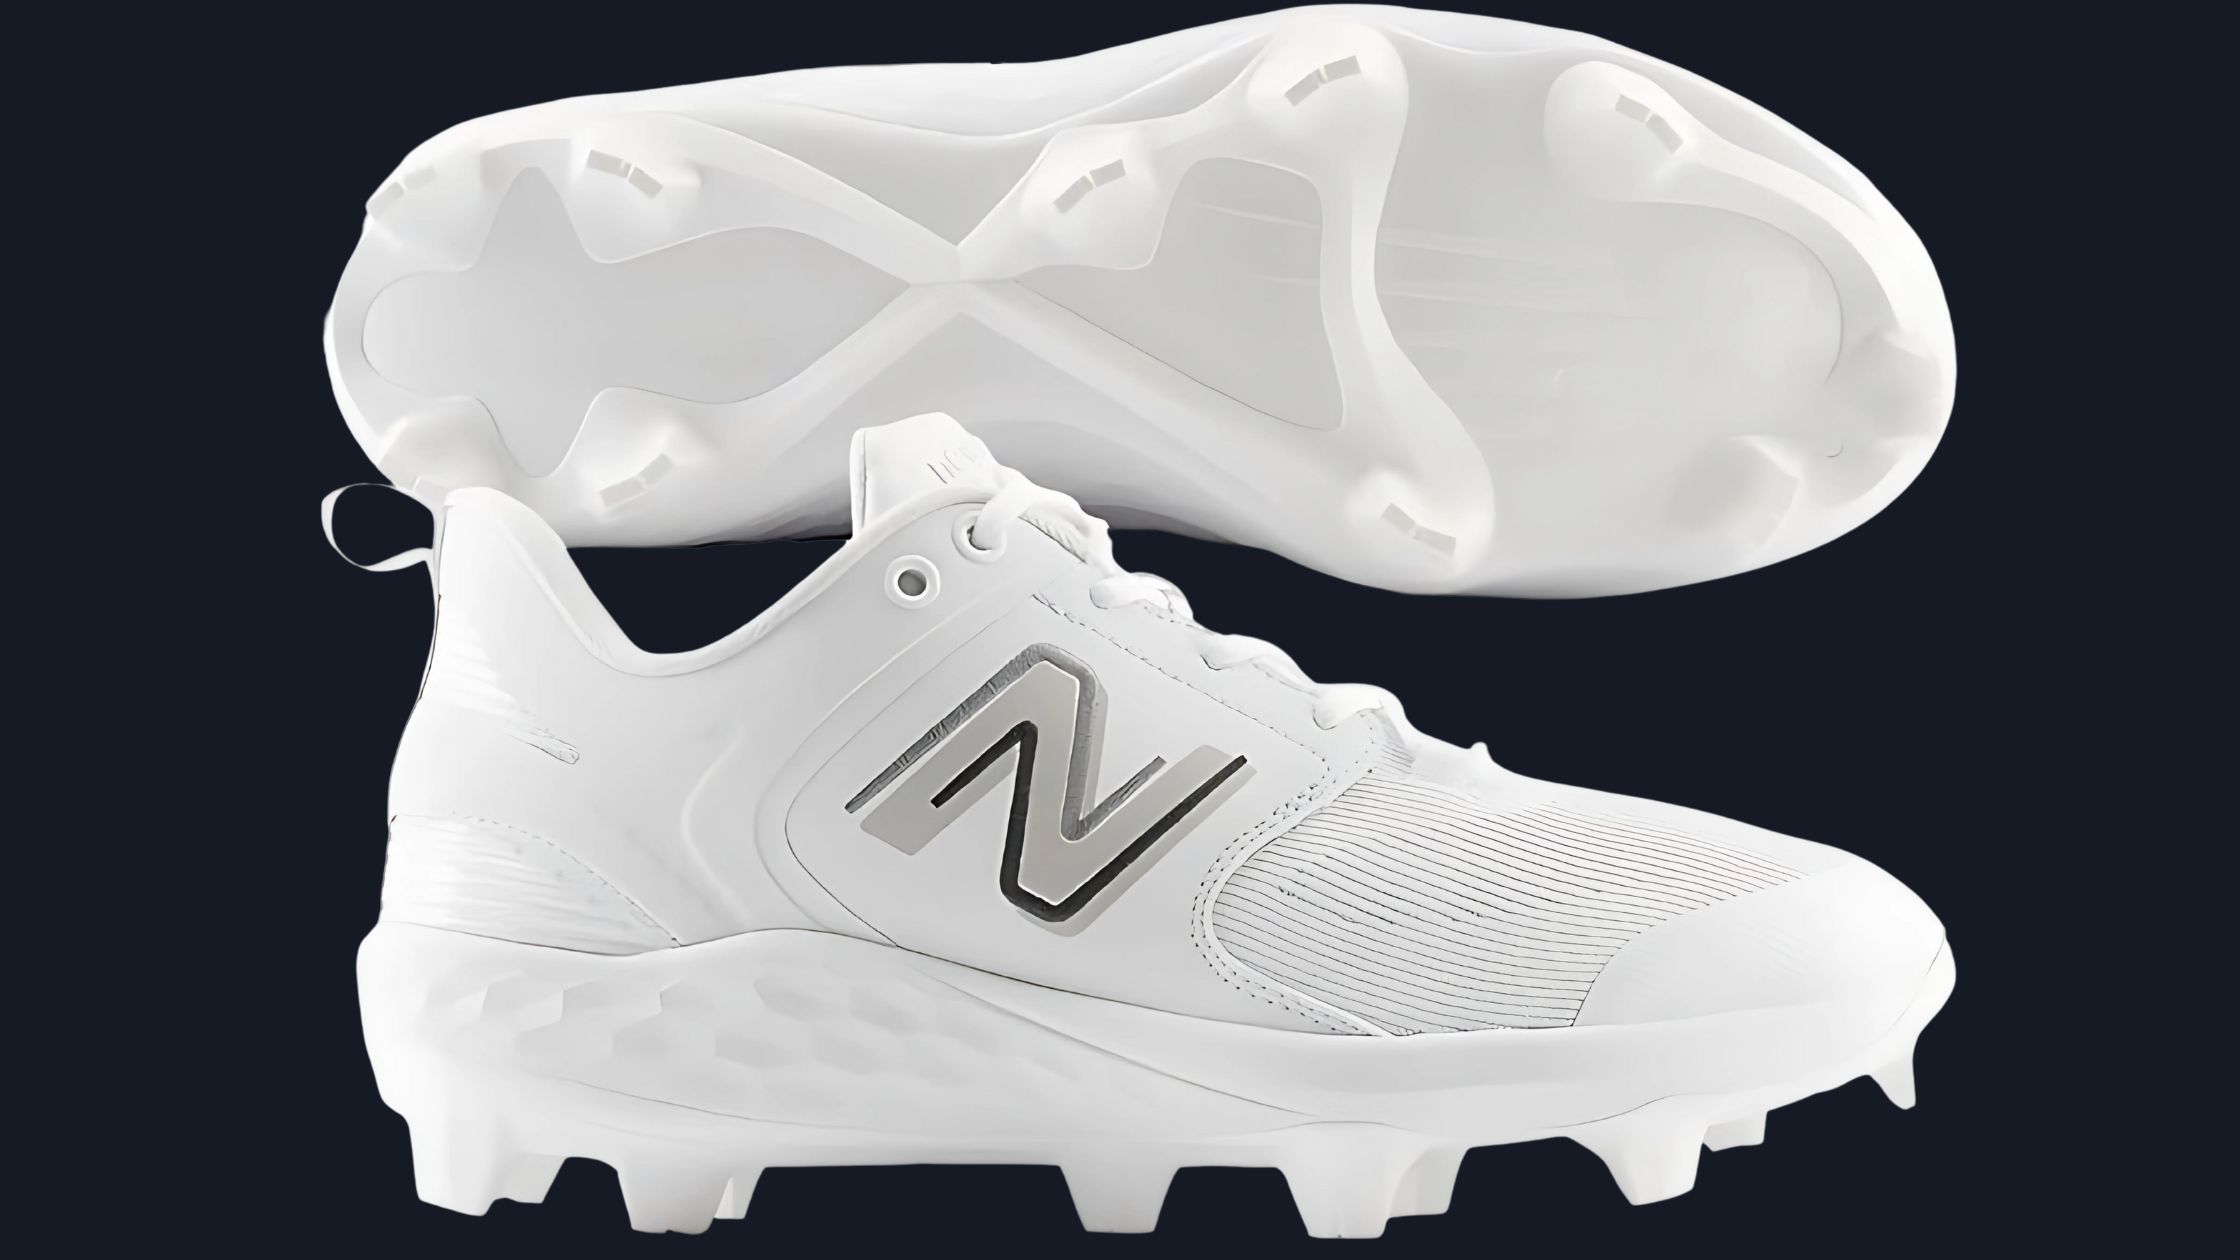
Signs Of Wear
Recognizing the signs of wear is the first step. Look for the following:
- Sole Separation: Check if the sole is detaching from the shoe.
- Cracked Leather: Inspect for cracks or tears in the leather.
- Worn Cleats: Ensure the cleats are not worn down or uneven.
- Loose Laces: Notice if the laces are frayed or won’t stay tight.
Performance Impact
Worn cleats can impact your game in various ways:
| Issue | Impact |
|---|---|
| Poor Traction | Reduces grip on the field, causing slips. |
| Discomfort | Leads to blisters and foot pain. |
| Less Stability | Increases the risk of ankle injuries. |
Maintaining good cleats ensures better performance and safety on the field. Always check for these signs and replace your cleats as needed.
Frequently Asked Questions
How Do You Break In New Baseball Cleats?
Breaking in new baseball cleats requires wearing them gradually. Start with short practices and increase usage. Use a shoe stretcher and wear thick socks to help. This ensures comfort and prevents blisters.
Can You Soak Baseball Cleats To Break Them In?
Yes, soaking cleats in warm water for 20 minutes can help. Wear them while they dry to mold them to your feet. This method softens the material, making them more comfortable.
How Long Does It Take To Break In Cleats?
Breaking in cleats usually takes a few weeks. Wear them during short practices and gradually increase the duration. This process helps avoid discomfort and ensures a perfect fit.
Should You Use A Shoe Stretcher On Cleats?
Yes, using a shoe stretcher can help break in baseball cleats. It helps stretch tight areas, making them more comfortable. Use it overnight for the best results.
Conclusion
Breaking in new baseball cleats can enhance your game and comfort on the field. Follow these simple steps for a perfect fit. Remember, patience and consistency are key. Enjoy your improved performance and avoid blisters. Invest time now for long-term benefits.
Happy playing!


